

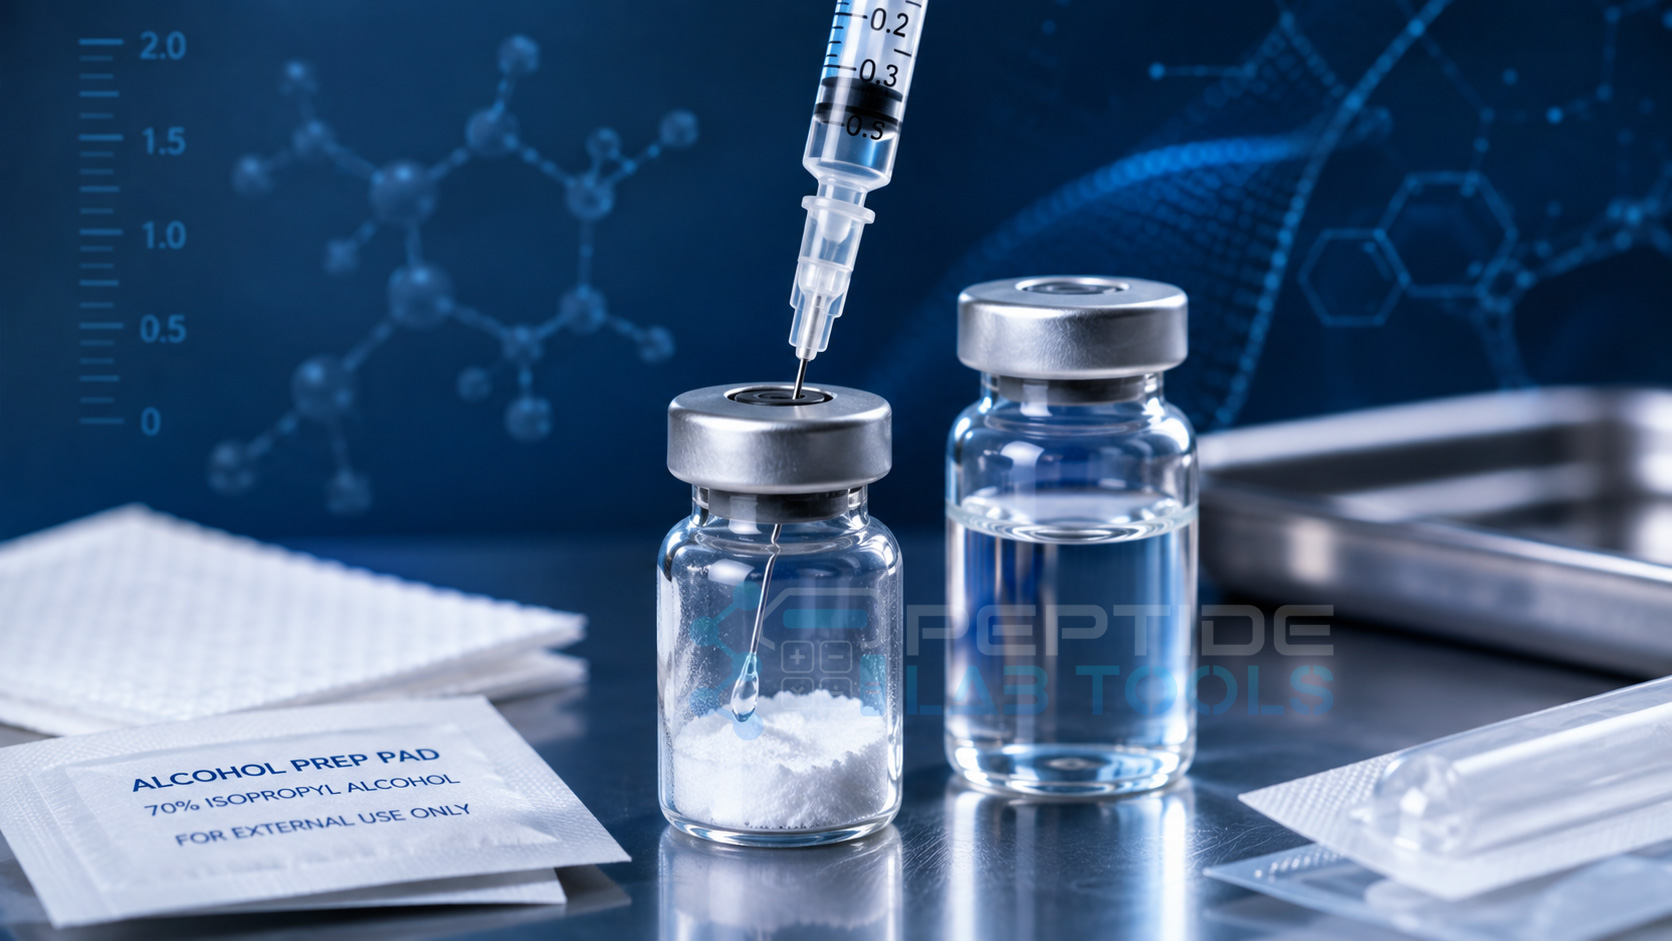
Peptides are commonly supplied as a lyophilized, or freeze-dried, powder inside a sealed vial. Before the contents can be measured as a liquid, a suitable diluent must be added to the vial in a process known as reconstitution. Although the basic process is straightforward, the amount of liquid added directly determines the final concentration and how much liquid represents a given amount of peptide.
Understanding peptide reconstitution is therefore about more than simply adding water to a vial. The type of diluent, amount of liquid, vial size, concentration, syringe markings, and handling technique all matter. This guide explains the complete process clearly, including how to calculate the resulting concentration and avoid some of the most common reconstitution mistakes. For broader peptide information and educational articles, visit PeptideLife.ca.
What Does Reconstituting a Peptide Mean?
Lyophilization removes water from a peptide solution under controlled conditions, leaving the peptide as a dry material that can often be stored more conveniently before use. In a vial, this may appear as a compact white cake, a thin layer of material across the bottom, or a small amount of loose powder. Reconstitution simply means adding an appropriate sterile liquid, known as a diluent, back to the vial. Once the peptide dissolves into that liquid, the vial contains a solution with a measurable concentration. The amount of peptide in the vial has not changed; it has simply been distributed throughout the volume of liquid that was added.
For example, adding 1 mL of liquid to a 10 mg vial produces a more concentrated solution than adding 2 mL to the same 10 mg vial. Both vials still contain 10 mg in total, but the amount of peptide contained in each 0.1 mL of solution will be different.
What You Need to Reconstitute a Peptide
Before beginning, it is helpful to have everything required in one clean preparation area. The exact supplies can vary depending on the product and the amount of liquid being transferred, but the basic items generally include:
- The lyophilized peptide vial
- The appropriate sterile diluent
- A new sterile syringe and needle for transferring the diluent
- Alcohol swabs
- A clean preparation surface
- A sharps container for used needles and syringes
For smaller reconstitution volumes, a 1 mL syringe can provide easy-to-read measurements. When transferring larger amounts of diluent, a 3 mL syringe may be more convenient because the entire volume can often be transferred at once. The separate syringe and needle guide on PeptideLabTools covers syringe capacities, needle sizes, U-100 insulin syringe markings, and other differences in more detail.
Bacteriostatic Water vs Sterile Water
Bacteriostatic Water for Injection is sterile water containing a bacteriostatic preservative, commonly benzyl alcohol. It is supplied in a multi-dose container and is designed for repeated withdrawals when it is compatible with the medication or substance being reconstituted. Sterile Water for Injection does not contain the same bacteriostatic preservative. Some pharmaceutical products specifically instruct users to reconstitute them with sterile water, while others may be supplied with their own dedicated diluent. For that reason, bacteriostatic water should not automatically be assumed to be the correct choice for every peptide or injectable product.
Always check the instructions provided for the specific product before selecting a diluent. Reconstitution requirements can differ between peptides and even between different formulations of the same compound.
How Much Water Should You Add to a Peptide Vial?
There is no universal amount of water that should be added to every peptide vial. The correct volume may be specified by the manufacturer or product instructions, but when more than one concentration is possible, the chosen amount of liquid determines how concentrated the final solution will be.
The basic relationship is:
Peptide amount ÷ liquid volume = concentration
For example, a vial containing 10 mg of peptide reconstituted with 2 mL of liquid produces:
10 mg ÷ 2 mL = 5 mg/mL
The same 10 mg vial reconstituted with 1 mL would instead contain:
10 mg ÷ 1 mL = 10 mg/mL
Adding more liquid therefore does not reduce the total amount of peptide in the vial. It simply spreads that same amount across a larger volume, producing a less concentrated solution. This is also why there is not necessarily one ideal reconstitution volume for every situation. A more concentrated solution requires a smaller liquid volume for the same measured amount, while a less concentrated solution requires a larger volume. The goal is to use a compatible reconstitution volume that produces measurements that are practical and easy to read.
Step 1: Check the Peptide and Diluent
Before reconstituting anything, verify the peptide vial, the amount listed on the vial, and the diluent being used. Do not rely on vial appearance alone, since many lyophilized products can look very similar. Also check the condition of both containers. A damaged vial, compromised stopper, questionable seal, expired product, or diluent that does not appear normal should not simply be used because the contents look acceptable.
The amount printed on the peptide vial is particularly important because this is the starting value used for every concentration calculation. A 5 mg, 10 mg, and 15 mg vial will produce completely different concentrations even when the same amount of liquid is added.
Step 2: Prepare a Clean Work Area
Medication preparation should be performed on a clean surface away from obvious sources of contamination. Wash or sanitize your hands and organize the necessary supplies before opening sterile packaging. Avoid touching needles, the exposed end of a syringe, or cleaned vial stoppers. A new sterile needle and syringe should be used when entering medication or diluent vials.
Keeping the process organized also helps prevent measurement mistakes. Confirming the vial amount and intended water volume before drawing the diluent is much easier than trying to correct an uncertain concentration afterward.
Step 3: Clean the Vial Stoppers
Remove any protective flip-off caps if necessary and wipe the rubber stopper of the peptide vial with a sterile alcohol swab. The stopper on the diluent vial should also be disinfected before inserting a needle. Allow the alcohol to dry rather than immediately inserting the needle through a wet stopper. Once cleaned, avoid touching the stopper with your fingers or placing anything non-sterile against it.
The rubber stopper allows a sterile needle to enter the vial while helping keep the container closed between accesses. Proper handling remains important because the stopper itself should not be treated as automatically sterile simply because a protective cap was present.
Step 4: Measure the Diluent
Using a new sterile syringe and needle, withdraw the amount of diluent required for the chosen reconstitution volume. Read the syringe at eye level and use the markings on the barrel to confirm the volume. Accurate measurement matters because even a small difference in liquid volume can change the resulting concentration, particularly when working with small reconstitution volumes. If the concentration calculation assumes 1 mL was added but the actual volume was significantly different, every measurement based on that concentration will also be different.
When a larger amount of diluent is required, using a syringe with greater capacity can make the transfer easier. This is one reason 3 mL syringes can be useful for reconstitution even when much smaller insulin syringes are used for measuring small liquid volumes later.
Step 5: Add the Diluent to the Peptide Vial
Insert the needle through the center of the peptide vial’s rubber stopper. When appropriate for the product, slowly direct the diluent toward the inside wall of the vial rather than forcefully spraying it directly onto the lyophilized material. Some sealed lyophilized vials may contain a vacuum that begins pulling the diluent into the vial. If this happens, keep control of the syringe rather than allowing the liquid to rush into the vial unnecessarily.
A slow, controlled transfer also reduces foaming and excessive agitation. The objective is simply to introduce the diluent into the vial without unnecessarily disturbing the contents.
Step 6: Allow the Peptide to Dissolve
After the diluent has been added, allow the liquid to contact the lyophilized material and begin dissolving it. If mixing is required, gently swirl or roll the vial rather than shaking it vigorously unless the specific product instructions state otherwise. Many reconstituted products dissolve without aggressive mixing. Depending on the formulation, complete dissolution may occur quickly or may require additional time. More agitation is not necessarily better.
Once dissolved, visually inspect the solution according to the instructions for that particular product. Unexpected cloudiness, unusual discoloration, visible foreign material, or other significant changes should not simply be assumed to be normal.
Step 7: Know the Final Concentration
Once the vial has been reconstituted, the most important number is the final concentration. This tells you how much peptide is contained in each milliliter of solution.
The formula is:
Concentration = peptide amount ÷ reconstitution volume
For a 5 mg vial mixed with 2 mL:
5 mg ÷ 2 mL = 2.5 mg/mL
Because 1 mg equals 1,000 mcg, this can also be written as:
2.5 mg/mL = 2,500 mcg/mL
From there, any liquid volume can be converted into the corresponding amount of peptide. For example:
0.1 mL × 2,500 mcg/mL = 250 mcg
The important point is that the syringe itself does not determine how much peptide is being measured. The concentration inside the vial determines how much peptide is contained within a particular liquid volume.
Understanding Insulin Syringe Units After Reconstitution
One of the most common sources of confusion with peptide reconstitution is the word “units.” On a standard U-100 insulin syringe, the numbered units are measurements of liquid volume rather than milligrams or micrograms of peptide.
A U-100 syringe contains 100 units per 1 mL. That means:
100 units = 1 mL
50 units = 0.5 mL
10 units = 0.1 mL
5 units = 0.05 mL
How much peptide those volumes contain depends entirely on the concentration of the reconstituted vial. Five syringe units could represent very different peptide amounts in two vials that were reconstituted at different concentrations. This is why simply saying that a peptide is measured at “10 units” is incomplete information. Without knowing both the amount of peptide in the vial and the volume used for reconstitution, the actual amount represented by those 10 units cannot be determined.
Reconstitution Example: 10 mg Peptide With 2 mL
A simple example helps show how the entire calculation works. Assume a vial contains 10 mg of peptide and is reconstituted with 2 mL of compatible diluent.
The resulting concentration is:
10 mg ÷ 2 mL = 5 mg/mL
Since 5 mg equals 5,000 mcg:
5 mg/mL = 5,000 mcg/mL
On a U-100 insulin syringe, 10 units represents 0.1 mL. At this concentration:
0.1 mL × 5,000 mcg/mL = 500 mcg
Therefore, in this specific example, 10 syringe units contains 500 mcg. Change either the peptide amount or the reconstitution volume and the result changes as well. This is exactly what a peptide reconstitution calculator is designed to simplify. Instead of repeatedly converting milligrams, micrograms, milliliters, and syringe units manually, the vial amount, reconstitution volume, and desired amount can be entered directly into the calculator.
Choosing a Reconstitution Volume Based on Draw Size
Sometimes it is easier to work backward rather than deciding how much water to add first. If you already know the amount you want represented by a particular liquid volume, the required reconstitution volume can be calculated from those values. For example, someone may want a particular measured amount to correspond to 5, 10, or 20 units on a U-100 syringe because that marking is easier to read consistently. Rather than experimenting with different water volumes manually, a reverse reconstitution calculation determines how much diluent would produce that desired relationship.
This does not change how much peptide is present in the vial. It simply adjusts the concentration so that a chosen amount corresponds with a chosen liquid volume.
Reconstituting Peptide Blends
A peptide blend contains more than one component in the same vial. The physical reconstitution process may look similar, but the concentration calculations require an additional step because each component has its own amount within the vial. For example, a blend containing 5 mg of one peptide and 5 mg of another does not mean that each milliliter should automatically be treated as containing 10 mg of each peptide. The total vial contains 10 mg of combined material, while each individual component contributes 5 mg.
After adding 2 mL of liquid, each 5 mg component would have a concentration of 2.5 mg/mL, while the combined concentration would be 5 mg/mL. A blend calculator is useful because it can keep the individual component concentrations separate instead of treating the entire vial as though it contained one compound.
Common Peptide Reconstitution Mistakes
Assuming Every Vial Uses the Same Amount of Water
There is no single water volume that applies to every vial. The peptide amount, vial capacity, product instructions, and desired final concentration can all affect the appropriate reconstitution volume.
Confusing Syringe Units With Peptide Amount
Syringe units measure liquid volume on a U-100 insulin syringe. They do not directly represent milligrams or micrograms. The peptide concentration must be known before syringe units can be converted into an amount.
Forgetting to Convert Milligrams to Micrograms
One milligram equals 1,000 micrograms. A decimal error during this conversion can produce a calculation that is wrong by a factor of ten, one hundred, or even one thousand, so keeping the units visible throughout the calculation is important.
Shaking the Vial Aggressively
Vigorous shaking is unnecessary for many lyophilized products and is specifically discouraged in the instructions for numerous reconstituted medications. Gentle swirling, rolling, or simply allowing the material time to dissolve is generally preferable when consistent with the product’s instructions.
Adding the Water Too Forcefully
Forcefully directing a stream of diluent into lyophilized material can create unnecessary foaming or agitation. A slow, controlled transfer toward the vial wall is commonly used when permitted by the specific product instructions.
Calculating the Concentration From the Syringe Size
Whether the final liquid is measured with a 0.3 mL, 0.5 mL, or 1 mL syringe does not change its concentration. Concentration is determined only by the amount of peptide and the amount of liquid in the vial.
Forgetting What Volume Was Added
If the actual reconstitution volume is unknown, the concentration cannot be calculated reliably. Recording the amount of diluent used at the time of reconstitution eliminates this problem.
Does Adding More Water Make a Peptide Weaker?
Adding more diluent makes the solution less concentrated, but it does not remove peptide from the vial. A 10 mg vial still contains 10 mg in total whether it is mixed with 1 mL, 2 mL, or another compatible volume. What changes is the amount contained in each milliliter. With 1 mL, the concentration would be 10 mg/mL. With 2 mL, it would be 5 mg/mL.
This distinction between total peptide amount and peptide concentration is one of the most important concepts in reconstitution. Concentration determines the volume that corresponds to a specific amount, while the original vial amount determines how much peptide exists in the vial overall.
Can You Reconstitute a Peptide With Any Amount of Water?
Not necessarily. The physical capacity of the vial places an obvious limit on how much liquid it can contain, and a specific product may also have a required reconstitution volume or approved diluent. Even when several concentrations are technically possible, extremely small volumes can become difficult to measure accurately, while unnecessarily large volumes may make individual measurements inconvenient. A practical reconstitution volume should therefore account for the vial, product instructions, and the concentration needed for useful measurements.
When the goal is to make a particular amount line up with an easy syringe marking, a reverse reconstitution calculator can determine the required water volume mathematically rather than through trial and error.
Why Accurate Reconstitution Matters
Reconstitution establishes the concentration used for every calculation that follows. If the amount of peptide in the vial or the amount of diluent added is entered incorrectly, the resulting concentration will also be incorrect. The process becomes much easier when the three main values are kept separate: how much peptide is in the vial, how much liquid is added, and how much liquid is being measured afterward. Once those values are known, the conversions between milligrams, micrograms, milliliters, and U-100 syringe units are straightforward.
For quick calculations, the PeptideLabTools reconstitution tools can perform these conversions automatically. The standard reconstitution calculator can determine draw volume from a known vial concentration, while the reverse reconstitution calculator can work backward from a desired amount and draw size to determine the required reconstitution volume.